


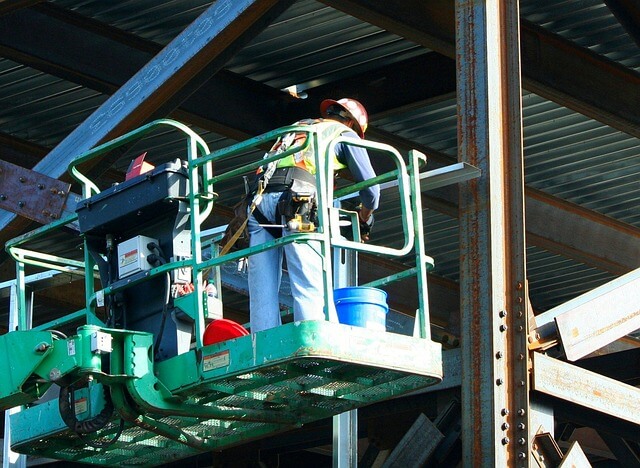
Swapping a power system in a forklift, telehandler, or yard truck can feel complex. The key is to break the work into simple steps so you can control downtime, cost, and safety.
Start with a clear end goal. Do you want lower fuel spend, cleaner emissions, or more torque at low speed? Set a target you can measure later.
Assess Your Current Tool And Duty Cycle
Log how the tool is actually used each shift. Capture average load, peak lift, idle time, and travel distance. Real data helps you size the new power system correctly.
Check the frame and mounts before you dream about more horsepower. Measure rail spacing, available height, and cooling airflow. A tape measure and a layout sketch beat guesswork.
List every connected system. Think hydraulics, steering pumps, PTOs, cooling fans, and the alternator. Each one must still work after the swap.
Note where heat builds up during long pushes or lifts. Hot spots point to ducting or radiator changes. If heat is trapped, plan for shrouds and better airflow.
Plan The Powertrain Swap Step By Step
Create a simple Gantt with four lanes: parts, labor, permits, and testing. Put real dates on it and add buffers. This avoids last-minute surprises.
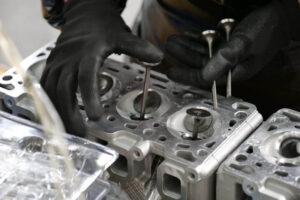
Make a parts map before ordering. Identify engine, mounts, aftertreatment, harnesses, CAN adapters, sensors, and fluids. You should know that replacing an engine used in industrial vehicles can trigger wiring and plumbing changes. Plan spare fittings and clamps.
Standardize the fasteners and fittings you can. Matching sizes speeds assembly and reduces tool changes. Keep extras on hand for field fixes.
Use a staging area to preassemble brackets and hoses. Dry-fit components on a bench first. Bench time is cheaper than rework inside a cramped chassis.
Build a sheet with torque values. Label every harness and hose. Photograph each step before removal. Bag and tag hardware by subsystem
Match Engine, Aftertreatment, And Controls
Choose the torque curve that fits your work. Many factory tools live at low RPM with frequent starts. Favor strong low-end torque and smooth ramp-up.
Size the aftertreatment for your duty cycle. Frequent cold starts may need active regen strategies. Long hot runs can support larger SCR systems with stable temps.
Align the controls. Your new ECU must talk to the display, pedals, and safety interlocks. If the CAN messages differ, add a gateway and validate setpoints.
Mind the warranty conditions. A state guidance document points out that adding a retrofit device to a new off-road diesel with its own factory aftertreatment can be ineligible due to warranty and anti-tamper rules, so match components as a system and avoid bolt-ons that conflict with OEM designs.
Budgeting, Grants, And Payback Windows
Build a bottom-up cost: hardware, adapters, labor hours, fluids, calibration time, and training. Add contingency for machining or shimming. Compared to the status quo fuel and maintenance spend.
Look for regional incentives. A Bay Area program training deck notes grants can cover about 80 to 85 percent of eligible off-road equipment replacement costs, which can shift a marginal project into the black.
Cross-check other states, too. A Texas rebate table explains that awards are typically capped at the lesser of a schedule amount or 80 percent of the incremental cost, so model both the grant and your true out-of-pocket.
Map payback under three fuel price cases. Include expected uptime gains and maintenance cuts. Keep the model simple so anyone on the team can update it.
Safety, Compliance, And Documentation
Update risk assessments before turning a wrench. Focus on lockout-tagout steps, suspended loads, and hot surfaces. Brief the crew and post the plan near the machine.
Confirm emissions and tamper rules for your region. Guidance from the California Air Resources Board highlights that when repowering with a new off-road diesel already equipped with OEM aftertreatment, layering on extra retrofit hardware can violate warranty and anti-tamper provisions. Keep paperwork that proves components are approved and installed as intended.
Document every change. Save serial numbers, calibration IDs, and wiring diagrams. This speeds future service and protects warranties.
Add clear labels for emergency stops, isolators, and battery disconnects. If locations moved, update operator cards. Train supervisors on the new sequence.
Testing, Tuning, And Operator Feedback
Start with a static shakedown. Check for leaks, rub points, and vibration. Verify all guards and shields are secure.
Run a controlled warm-up and log temps, pressure, and RPM. Watch soot loading, NOx conversion, and fuel rate. Stop and fix any drift before full load.
Invite operators to do short cycles. Ask what feels different in throttle response and lift speed. Use their notes to refine ramp rates and relief settings.
Add a short checklist to lock in the win:
- Cold-start smooth within target time
- No fault codes after 2 hours at duty load
- Stable coolant and DOC/DPF temperatures
- Verified regen strategy in real work
Hydraulics, Cooling, And Packaging Details
Recheck pump displacement and relief valves with the new power curve. You may need a smaller pulley or different control logic. The goal is smooth motion with no chatter.
Heat is often the limiting factor. If coolant or oil runs hot, add fin area or shrouds and keep cores clean. A small change in airflow path can drop temps fast.
Use flex sections in exhaust and charge air. This protects joints from vibration and misalignment. Keep hot parts away from harnesses and hoses.
Protect intakes from dust and splash. Add pre-cleaners if your site is dusty. Seal cab penetrations to cut noise and heat.
Training, Spares, And Change Management
Write a one-page quick-start for operators. Cover start-up, warm-up, and what to do if a warning light appears. Keep it in the cab.
Train maintenance on new service intervals and diagnostics. Practice DPF service, SCR checks, and sensor swaps. Short drills build confidence.
Stock consumables and fast movers. Filters, clamps, sensors, and urea should be on the shelf. A small kit prevents long outages.
Communicate the why behind the swap. People support changes that help their day. Invite questions and keep feedback loops open.
Swapping a power system is not magic. It is a chain of small, careful choices. When you collect real data and plan the work, the project stays on time and earns its keep.
Keep the crew involved and document the changes. With good testing and training, the tool will feel familiar yet stronger. That confidence shows up in safer work and steadier output.